From Sketch to Screen: Unveiling the Hidden Process of Crafting a Great Website
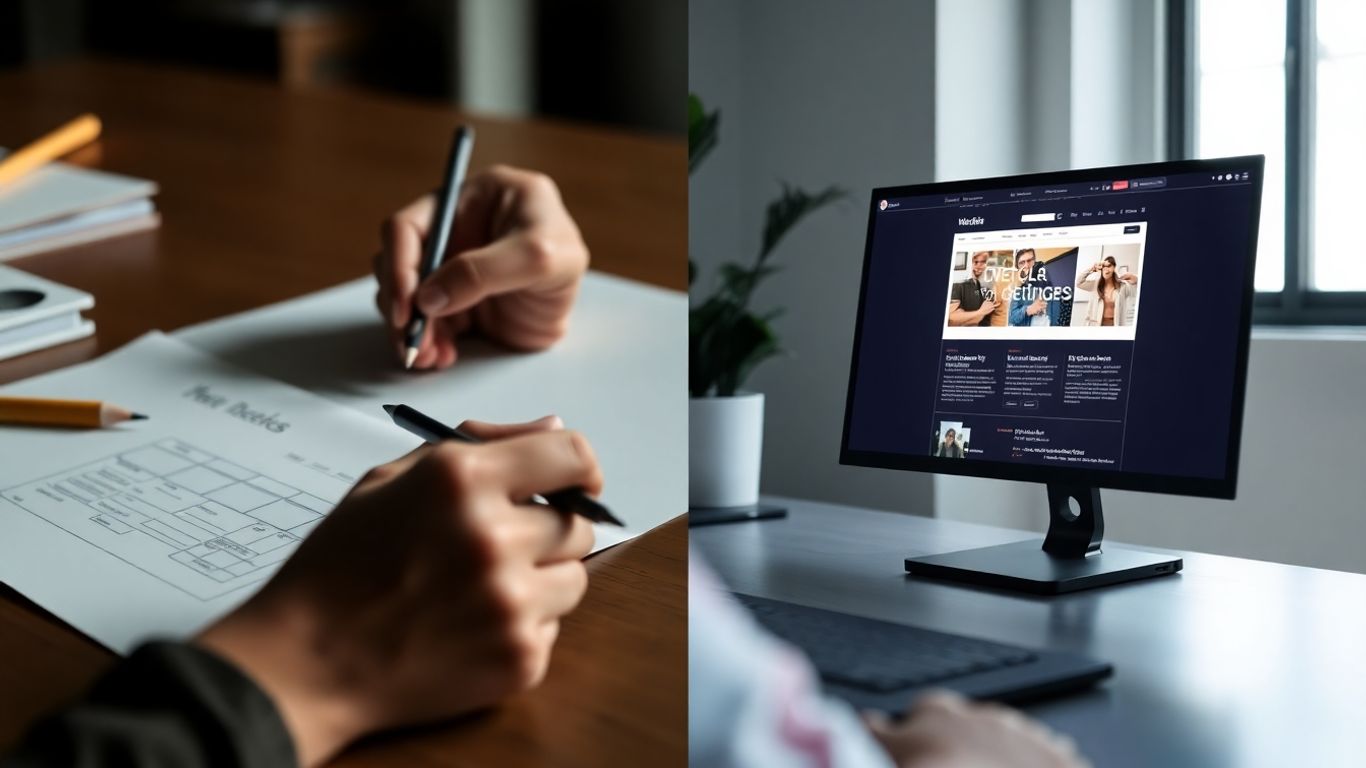
You know, building a website can seem like magic from the outside. People see the finished product, looking all slick and easy to use, and they probably don't think much about what went into it. But honestly, it's a whole process, kind of like baking a cake – you can't just throw everything in and expect it to turn out right. There's planning, mixing, baking, and then the decorating. Our focus keyword, From Sketch to Screen: The Hidden Process Behind a Great Website, really gets to the heart of it. It’s about all those steps before you even see the final, shiny thing. Let's pull back the curtain a bit.
Key Takeaways
- Start by really getting what the client wants and what their brand is all about. This means talking, listening, and understanding their main goals.
- Structure the website logically. Think about how people will find things and the paths they'll take. Sketching out basic layouts (wireframes) is a good first step.
- Turn those sketches into something people can click and play with (prototypes). Test these with real users early and often to fix problems before they become big issues.
- Make sure the site looks good but also works smoothly. This includes making it fast and easy to get around, no matter what device someone is using.
- Think about how search engines will find your site and make it usable for everyone, including people with disabilities.
Understanding The Client's Vision And Brand Essence
Discovering The Heart Of The Brand
So, you've got a client who wants a website. Great! But before we even think about colors or buttons, we really need to get what makes them tick. It's like trying to cook a meal without knowing what ingredients your guest likes, right? We need to dig into what their brand is all about. What's their story? What do they stand for? What's their vibe? This isn't just about slapping a logo on a page; it's about making the website feel like a true extension of their business. We do this through chats, looking at their existing materials, and really listening. The goal is to capture their unique spirit in every digital element. It’s about finding that core identity, that essence, that makes them, well, them. This initial deep dive is super important for everything that follows.
Aligning With Business Objectives
Okay, so we know who they are. Now, why do they need this website? What are they trying to achieve? Are they looking to sell more products, get more people to sign up for a service, or just get their name out there? We need to connect the dots between their brand and their actual business goals. A website that looks pretty but doesn't help the business is kind of pointless, don't you think? We map out how the website will actually help them make money or reach their targets. It’s about making sure the design isn't just a nice-to-have, but a tool that works hard for them. This means looking at things like who their ideal customer is and what that customer is looking for when they visit the site. We want to make sure the website is a real engine for business growth.
Creating A Blueprint For Success
Once we've got a handle on the brand's heart and the business's goals, it's time to start sketching out a plan. Think of this as building the foundation before you put up the walls. We're not talking about the final look yet, but more about the structure. This involves figuring out:
- What pages are needed?
- How will the information be organized so people can find stuff easily?
- What are the main things we want users to do on the site?
This stage is all about creating a clear roadmap. It helps everyone involved – us, the client, and later the developers – understand the direction we're heading. It prevents surprises down the line and makes sure we're all on the same page before we get into the nitty-gritty of design and coding. It’s the practical step that turns all our understanding into a concrete strategy.
Structuring The Digital Experience
Okay, so we've got a handle on what the client wants and what their brand is all about. Now, it's time to actually build the skeleton of the website. Think of this stage like drawing up the blueprints before you start hammering nails. We need to figure out where everything goes and how people will move around. It's not just about making it look pretty; it's about making it work, and work well, for the people who will actually use it.
Organizing Content With Information Architecture
This is basically creating a map for your website. You want to group similar stuff together so users don't get lost. If someone can't find what they're looking for quickly, they'll probably just leave. We lay out all the pages, decide on clear menus, and make sure the whole structure makes sense to someone who's never seen the site before. Good information architecture means people can find things fast and have a better time on the site.
- Sitemap: A list of all the pages and how they connect.
- Navigation: Menus that are easy to understand and use.
- Content Grouping: Putting related information together logically.
Mapping User Journeys With User Flows
Next, we think about how someone will actually do things on the site. What steps do they take to sign up for an account? How do they buy something? We draw out these paths, called user flows. This helps us spot any confusing steps or places where someone might get stuck. The goal is to make these tasks as simple as possible. For example, a flow might look like this:
- User lands on the homepage.
- User clicks on the "Sign Up" button.
- User fills out the registration form.
- User confirms their email.
- User is logged into their new account.
We're trying to smooth out the path from start to finish, removing any bumps that might make someone frustrated or give up.
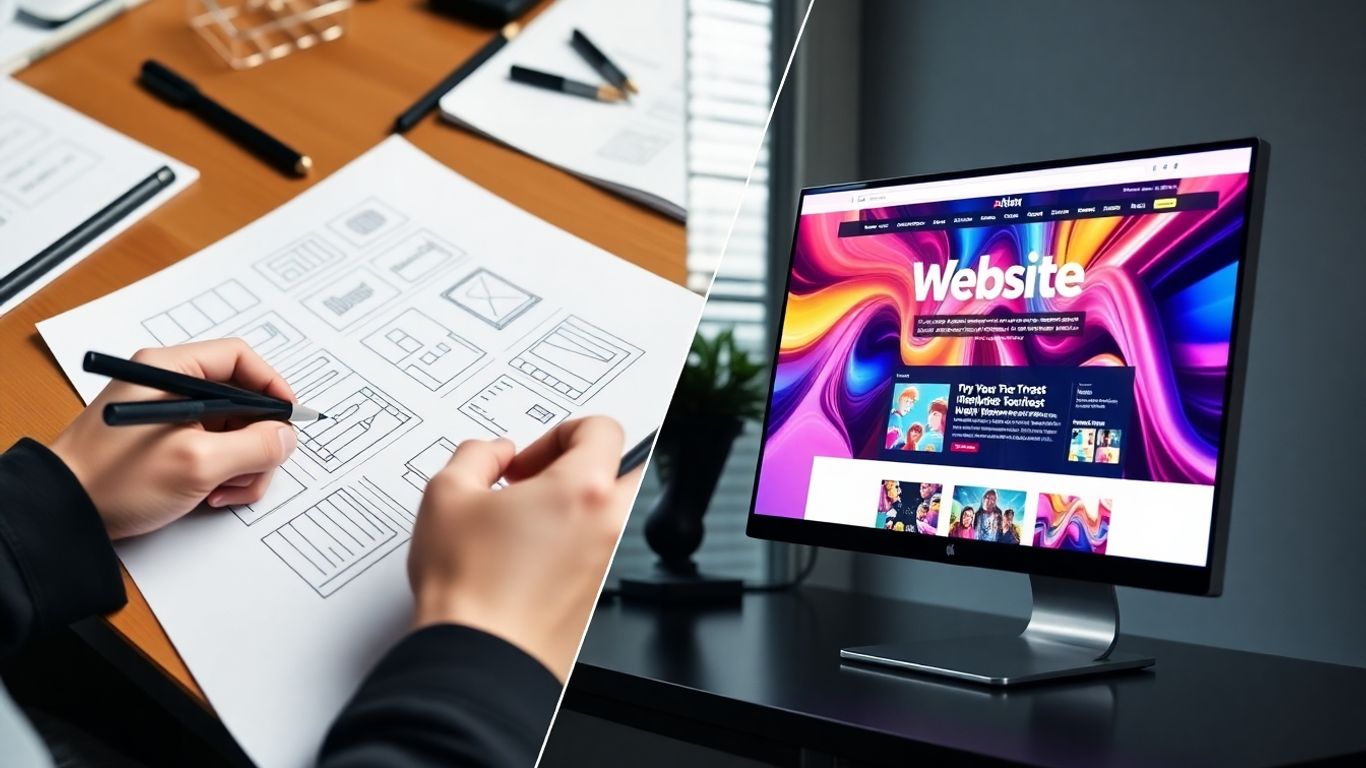
Visualizing Layouts With Wireframe Sketches
Once we know the structure and the paths, we start sketching. These aren't pretty pictures; they're basic outlines of what each page will look like. We focus on where the buttons go, where text will be, and where images or other elements will fit. It's all about the layout and functionality at this point, not the colors or fancy graphics. These wireframes are super helpful for making sure the basic design makes sense before we get into the detailed visual design.
Bringing Designs To Life Through Prototyping
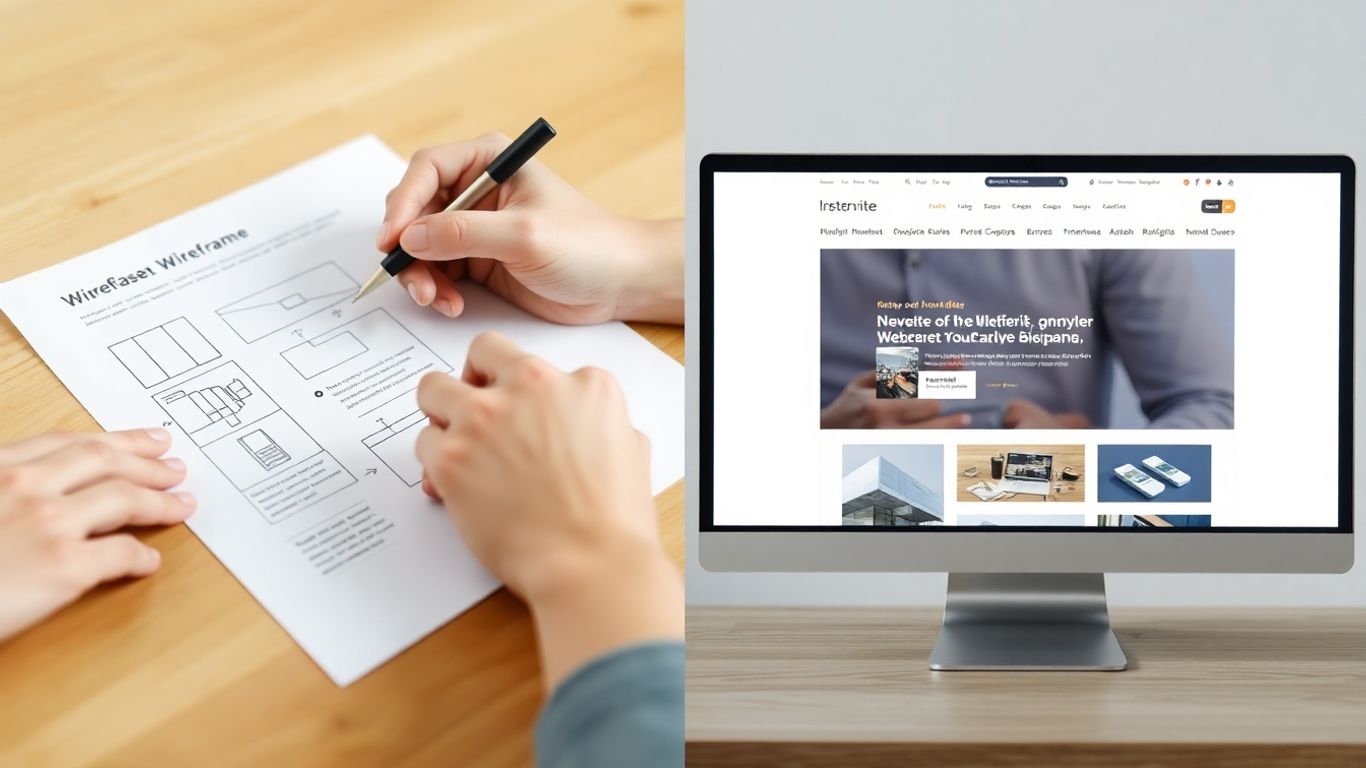
Developing Low-Fidelity To High-Fidelity Wireframes
So, you've got your blueprints, your wireframes. At first, these are super basic, just black and white sketches really. Think of them as the skeleton of your website. We're not worried about colors or fancy fonts yet; it's all about getting the structure right. Where do the buttons go? How does the text flow? This early stage is perfect for quick changes. You can sketch them by hand, use a whiteboard, or jump onto digital tools like Figma or Balsamiq. The main goal here is to get the layout ideas down fast and get some initial feedback without spending ages on details. It’s about making sure the bones are strong before we add the muscle and skin.
Creating Interactive Prototypes
Now, a wireframe shows what a page looks like, but a prototype shows how it works. This is where things get exciting. Using tools like Figma or InVision, we link those screens together. We add buttons that actually click, links that go to the right place, and transitions that make it feel like a real website. This clickable experience is what we call an interactive prototype. It lets us and potential users play around with the design before any code is written. It’s like a dress rehearsal for your website. You can see the whole user journey, explain your ideas to others more clearly, and spot any confusing parts early on. You can even test these on your phone to get a feel for how it works on a smaller screen.
Iterating With Fast Usability Testing
This is where the magic really happens. We get real people to try out the prototype. They click around, try to complete tasks, and tell us what's confusing or what works well. Sometimes they get stuck, and honestly, that's great information! It tells us exactly where the design needs improvement. We use tools like Maze or Lookback to help manage these tests. The process is simple: test, get feedback, fix problems, and test again. This back-and-forth helps us iron out all the kinks. It saves a ton of time and money down the road because we're fixing issues now, not after the website is built. It’s all about making smart design choices based on how people actually use things, not just what we think they'll do. This approach helps build a website that people actually enjoy using and that supports your business goals, even while you're busy with other things. You can find more about building authority and trust through automated email sequences and compelling copywriting on web marketing.
This whole prototyping and testing phase is the bridge between a bunch of ideas and a working product. Skipping it or rushing through it is like building a house without checking the foundation. You might end up with a beautiful structure, but it won't stand up for long when people start using it.
Balancing Aesthetics With Functionality
This part of building a website is where we make sure it looks good and works well. It’s like making a really tasty meal that also looks amazing on the plate. You don't want a site that's pretty but impossible to use, or one that works fine but looks like it was made in the 90s. We need both.
Crafting Intuitive And Seamless User Experiences
Making a website easy to use is a big deal. People visit sites to get something done, whether that's buying a product, finding information, or signing up for something. If they get confused or frustrated, they'll just leave. We want them to feel like they know exactly what to do without even thinking about it. This means thinking about how someone will actually move through the site, page by page, step by step.
- Think about the user's goal: What are they trying to achieve on this page?
- Keep it simple: Don't make them hunt for buttons or information.
- Provide clear feedback: Let them know when they've done something right, like submitting a form.
- Anticipate needs: Sometimes, you can guess what they'll want next and offer it.
Sometimes, a small detail can make a huge difference. We found that a button people needed to click was easily missed because it didn't stand out enough. Just changing its color and size made a big difference in how many people actually completed the task. It shows that even tiny adjustments matter.
Ensuring Fast Load Times While Maintaining Visual Appeal
Nobody likes waiting for a website to load. If it takes too long, people click away. But we also don't want to strip away all the cool graphics and animations just to make it load faster. It's a trade-off. We have to be smart about how we use images and code so the site looks great but still loads quickly.
Here's a quick look at how load times can affect things:
| Load Time (Seconds) | Bounce Rate Increase |
|---|---|
| 1-2 | 32% |
| 3-5 | 90% |
| 6-10 | 120% |
Streamlining Navigation For Enhanced Usability
Getting around a website should be straightforward. Think of it like a map – you want to see where you are and how to get where you're going easily. If the navigation is confusing, people get lost and give up. We organize menus and links so that finding information is logical and doesn't require a lot of thought. A well-organized site makes users feel in control and more likely to stick around.
Ensuring Cross-Device Compatibility And Accessibility
So, you've got this awesome website idea, right? But what happens when someone tries to look at it on their phone, then their tablet, and then their big desktop monitor? It needs to look good and work well on all of them. That's where making sure it's compatible across different devices comes in. It’s not just about making it fit; it’s about making the experience smooth, no matter the screen size.
Employing Responsive Design For All Devices
Think of responsive design as a chameleon for your website. It changes its appearance to fit whatever device it's being viewed on. This means images resize, text reflows, and menus might change their layout. The goal is a consistent and pleasant experience for everyone. It’s like having a single outfit that looks great whether you’re at a casual picnic or a formal dinner. This approach is pretty standard now, and honestly, if a site doesn't do this, it feels pretty broken. It’s a big part of why users stick around and don't just bounce off to a competitor’s site. We use tools like Google's Mobile-Friendly Test to check how well our pages perform on phones. Check your site's mobile-friendliness.
Optimizing For Diverse Screen Sizes
Beyond just fitting, we need to think about how people actually use the site on different screens. On a phone, people tap with their fingers, so buttons need to be big enough and spaced out. On a desktop, they're using a mouse, so smaller targets might be okay. We also need to consider how fast the site loads. Nobody likes waiting around for a page to pop up, especially on mobile where data can be slower. Aiming for pages to load in under 3 seconds is a good target, because a lot of people will just leave if it takes longer. We also simplify navigation on smaller screens, maybe using a 'hamburger' menu icon instead of showing all the links at once. It’s all about making it easy and quick for the user.
Prioritizing Accessibility Standards
This part is super important and often overlooked. Accessibility means making sure your website can be used by as many people as possible, including those with disabilities. This could mean people who are visually impaired, have motor difficulties, or are hard of hearing. It’s about building a website that’s inclusive.
Here are a few key things we focus on:
- Clear contrast: Making sure text is easy to read against its background. This helps people with low vision.
- Keyboard navigation: Users should be able to get around the entire site using just their keyboard, not just a mouse.
- Alt text for images: Providing descriptions for images so screen readers can tell visually impaired users what the image is about.
- Captions for videos: Making sure any spoken content in videos is also available as text.
Building with accessibility in mind from the start saves a lot of headaches later. It’s not an add-on; it’s part of good design. It means thinking about different ways people interact with technology and making sure your site doesn't exclude anyone. It’s about building a digital space that welcomes everyone.
It’s about making sure that the content and functionality are understandable and usable for everyone, regardless of their abilities. This isn't just a nice-to-have; it's becoming a standard expectation for good web design. We also look at things like making sure forms are easy to fill out and that interactive elements are clear. It’s a whole package that makes a website truly usable for everyone.
Leveraging SEO For Maximum Visibility
So, you've got this amazing website design, right? It looks fantastic, and the client loves it. But what's the point if nobody can find it? That's where Search Engine Optimization, or SEO, comes in. It's not just some technical mumbo-jumbo; it's about making sure your website shows up when people are actually looking for what you offer. Think of it as giving your website a megaphone in a crowded room.
Integrating Keyword Research Into Design
Before you even start sketching out layouts, you need to know what words people are typing into Google. This is keyword research. It's like figuring out the secret handshake of your target audience. You want to find terms that people actually use, not just fancy industry jargon.
Here's a quick rundown on how to approach it:
- Brainstorm: Start with broad ideas related to the client's business.
- Use Tools: Tools like Google Keyword Planner, Ahrefs, or SEMrush can show you search volume and competition for different terms.
- Analyze Intent: Are people looking to buy something, learn something, or just browse? Match your content to their goal.
- Look at Competitors: See what keywords your competitors are ranking for.
The goal is to weave these keywords naturally into your website's content and structure. It shouldn't feel forced, but rather like a helpful guide pointing users in the right direction.
Optimizing Content For Search Engines
Once you have your keywords, you need to put them to work. This means making sure your content is not only useful for humans but also understandable for search engines.
- Titles and Headings: Use your main keywords in page titles (the text that shows up in the browser tab) and H1 headings. Use secondary keywords in H2 and H3 headings to break up content.
- Meta Descriptions: Write compelling descriptions that include keywords and encourage clicks from the search results page.
- Body Content: Sprinkle your keywords throughout the text where they make sense. Aim for clarity and readability first.
- Image Alt Text: Describe images using keywords. This helps search engines understand what the image is about and aids visually impaired users.
Search engines are getting smarter, but they still rely on clear signals to understand your website's topic. Well-optimized content makes their job easier, which in turn helps your site rank higher.
Building For Search Engine Success
Beyond just content, the actual structure and technical aspects of your website play a huge role. Think about how easy it is for search engines to crawl and index your site.
- Site Architecture: A logical, hierarchical structure makes it easy for both users and search engines to find information. Avoid overly deep or complicated navigation.
- Page Speed: Websites that load quickly tend to rank better. Optimize images, minimize code, and consider good hosting.
- Mobile-Friendliness: With most searches happening on mobile devices, a responsive design is non-negotiable for SEO.
- Internal Linking: Link relevant pages within your own website. This helps distribute
The Handoff: From Design To Development
Preparing Assets for Developers
So, you've got a slick design, tested and approved. Now what? It's time to get it into the hands of the developers who will actually build it. This isn't just about sending over a few image files; it's about providing a clear, organized package that leaves no room for guesswork. Think of it like giving a chef a detailed recipe with all the ingredients prepped and measured. We need to make sure all the final UI bits – buttons, icons, forms – are ready to go. This also means creating a style guide that clearly lays out colors, fonts, and how things should be spaced. Annotations are super important too, explaining how certain layouts should behave. And of course, exporting assets in the right formats, like SVG for graphics that need to scale, or PNG for photos.
Tools like Figma, with its built-in developer mode, or Zeplin, which provides CSS-ready specs, make this whole process way smoother. It really cuts down on those annoying back-and-forth questions that can eat up hours.
Collaborating Closely During Development
Just because the design is "handed off" doesn't mean the designer checks out. Not at all. We stick around to help. This means joining in on design reviews, making sure the spacing is right, the colors match, and everything looks good on different screen sizes. If developers have questions, we answer them quickly. Sometimes, small tweaks to layouts might be needed as things get built, and we're there to make those calls. The main goal here is to make sure the final product looks and feels exactly like the design, no matter what device someone is using. It’s about making sure the interface isn't just pretty, but that it works perfectly.
Launching the Final Product with Confidence
After all the building, testing, and reviewing, it’s finally time to go live. But hitting that launch button isn't the end. We need to be ready to monitor how users are actually interacting with the site. Using tools that track user behavior and catch any glitches helps us understand what's working and what's not. This data is gold for making improvements down the line. It’s about launching with a plan for what comes next, not just celebrating the launch itself.
The handoff phase is where the visual blueprint meets the functional reality. Clear communication and well-prepared assets are key to translating design intent into a working product without unnecessary delays or misinterpretations.
Continuous Improvement Post-Launch
So, you've launched the website. Awesome! But honestly, that's just the beginning. Think of it like opening a new shop; you don't just lock the doors after the grand opening. You keep an eye on things, see what's selling, and make adjustments. The same goes for your website. It's a living thing that needs attention to keep performing well.
Monitoring User Behavior And Analytics
This is where you really get to see how people are using your site. Tools like Google Analytics are your best friend here. They show you where visitors are coming from, what pages they're looking at, and how long they're sticking around. You can also check out heatmaps and click tracking to see exactly where people are clicking (or not clicking).
- Track key metrics: Look at things like bounce rate, time on page, and conversion rates. Are people finding what they need? Are they completing the actions you want them to?
- Identify drop-off points: Where are users leaving your site? This often points to a problem area that needs fixing.
- Understand traffic sources: Knowing where your visitors come from helps you focus your marketing efforts.
Understanding how users interact with your site after launch provides invaluable data for making informed decisions about future updates and optimizations. It's about moving beyond assumptions and working with real-world behavior.
Gathering Feedback For Future Iterations
Analytics tell you what is happening, but user feedback can tell you why. Don't be shy about asking your visitors what they think. Simple surveys on your site, feedback forms, or even just keeping an eye on social media mentions can give you a goldmine of information.
- Surveys: Short, targeted questions can reveal specific pain points or areas of delight.
- Support tickets: What are people contacting you about? These are often direct indicators of usability issues.
- Reviews and comments: Keep an eye on any public feedback channels.
Staying Ahead With Web Design Trends
The digital world moves fast. What looks great today might feel a bit dated in a year or two. It's important to keep an eye on what's new and popular in web design, but more importantly, what's effective. This doesn't mean chasing every shiny new trend, but rather understanding how design and technology are evolving to better serve users.
- Observe competitor sites: See what others in your space are doing well.
- Follow design blogs and publications: Stay informed about new techniques and best practices.
- Consider user experience advancements: How are interfaces becoming more intuitive and accessible?
After your website is live, the work doesn't stop. We keep making it better and better. Think of it like tending a garden; you need to water it and pull weeds to help it grow. We're here to help your online presence flourish. Want to see how we can help your business shine online? Visit our website today!
Bringing It All Together
So, there you have it. Building a website isn't just about slapping some text and pictures online. It's a whole journey, from that first little idea to a finished product people can actually use and enjoy. We've seen how important it is to really get what the client wants, then map out the structure, make it look good, and most importantly, make sure it works smoothly for everyone. Testing and tweaking are key, and even after it's live, the work isn't really done. It’s a mix of art and science, really. Getting it right means a site that not only looks great but also helps achieve whatever goals you set out for it. It’s a lot of steps, but when it all comes together, it’s pretty cool to see.
Frequently Asked Questions
What's the first step in making a website for someone?
It all starts with understanding what the client wants. We chat with them to figure out what their business is all about, what they want the website to do, and what makes their brand special. It's like drawing a map before you start building a house.
How do you decide where everything goes on a website?
We organize all the information like a library, making sure it's easy for people to find what they're looking for. Then, we map out the steps a user will take, like a path through a park, so their visit is smooth and simple. After that, we sketch out what each page will look like, kind of like a rough drawing before painting.
What's a 'prototype' and why is it important?
A prototype is like a practice version of the website that you can click around on. It helps us see if the design makes sense and is easy to use before we build the real thing. We show it to people to get their thoughts and make changes, so the final website is great.
How do you make a website look good and work well at the same time?
We try to make the website look awesome while also making sure it's super easy to use. This means making sure buttons are clear, pages load quickly, and it's not confusing to find your way around. It's about making it pretty and practical.
Does the website work on phones and tablets too?
Yes! We make sure the website looks and works great on all sorts of screens – computers, phones, and tablets. We also make sure it's easy for everyone to use, no matter what their needs are.
What happens after the website is built and launched?
We don't just launch it and forget about it! We keep an eye on how people are using the website and ask for feedback. This helps us make it even better over time and stay up-to-date with the latest cool web design ideas.


Comments
Post a Comment